Magnets in a 3d Print
At some point you have to figure out how to combine 3D printed pieces. Although just a box with a lid, I was able to learn how to make magnets part of my 3D models going forward.
- 4 minutes read time
Adding magnets to your 3D prints is quite straightforward and offers countless possibilities. From toys and cosplay masks to fridge magnets, it’s as simple as creating negative space in your model and glueing it in after the print. Or you can go one step further and embed them into the model part way through printing, making them invisible.
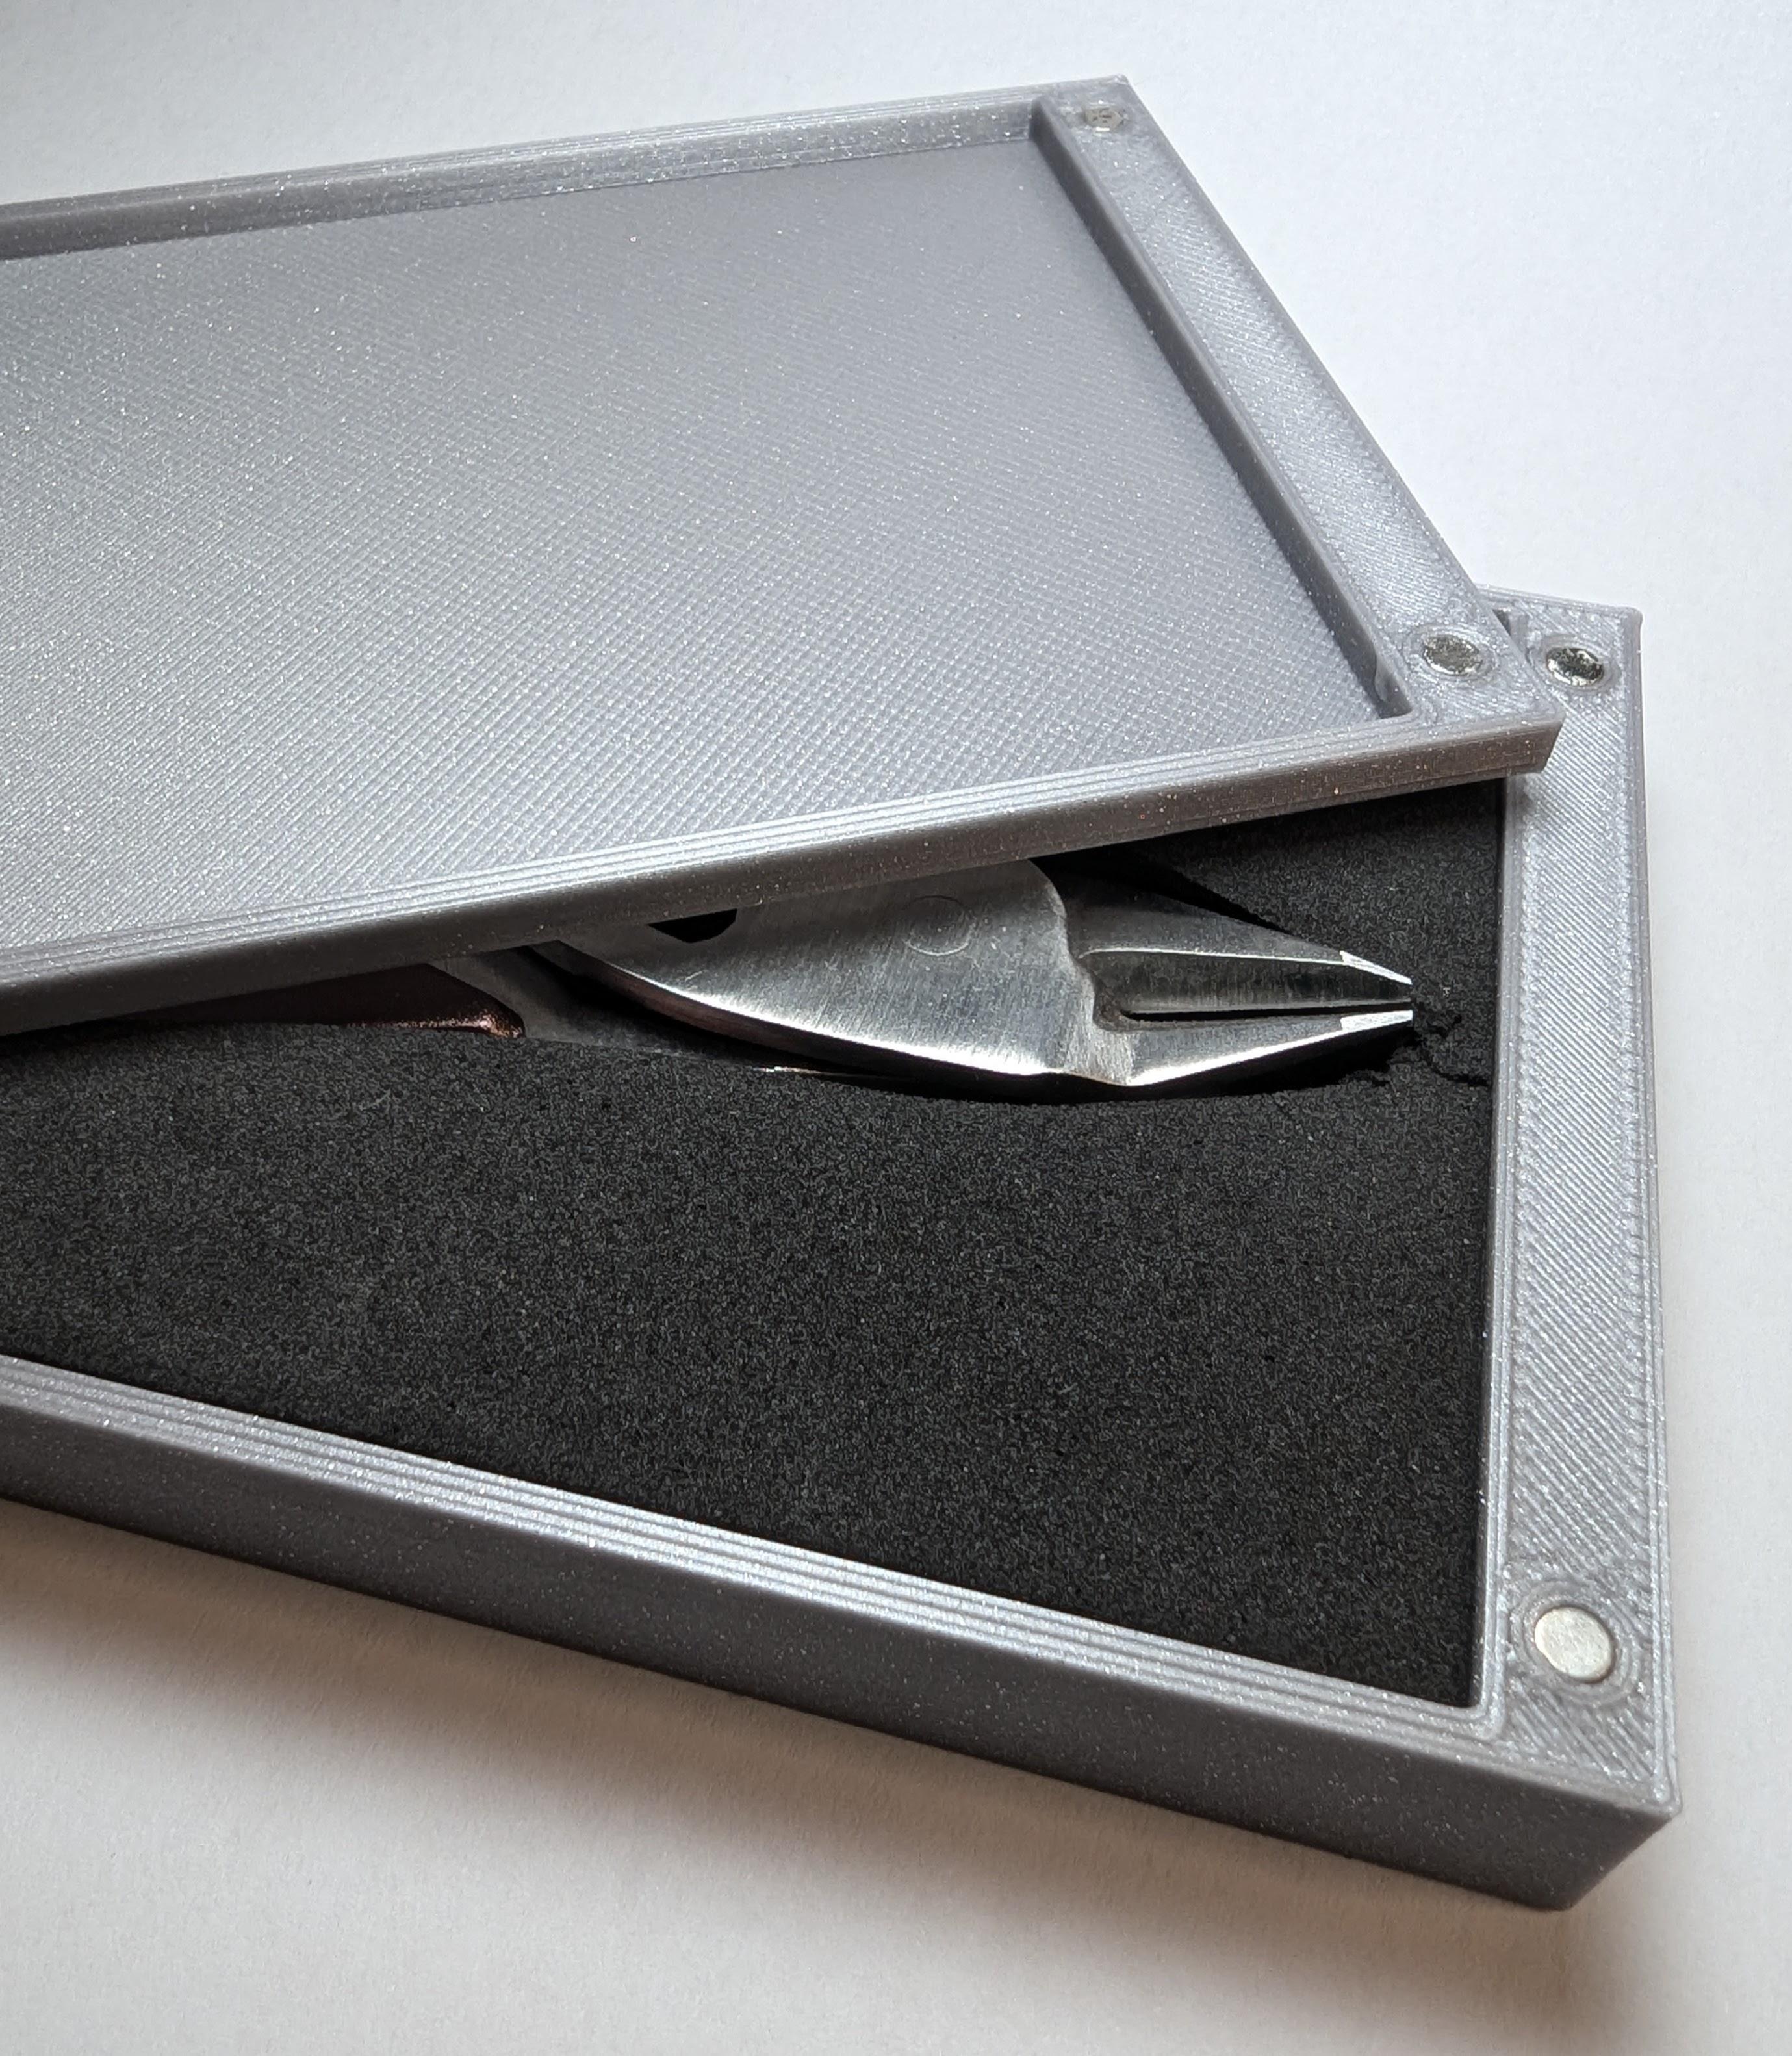
After successfully making my first 3D print (link), I wanted to create a simple box to house the clippers I purchased from (link). I was placing them back into the original cardboard box they came in, which was becoming ripped and was not long for this world. So, I wanted to make a simple box with a magnetic lid to house the clippers in their original foam. This would be my first time adding magnets to a 3D print.
How big and how strong?
The first step is to decide on the type and size (and therefore strength) of the magnets you’ll need. As I only needed it to hold a top to a simple box, I opted for small magnets in each corner, one in the box and the other in the lid. I ordered these which seemed to have good reviews and, spoiler, did the job really well for me. If I had wanted to embed the magnet in the print or for it to have a stronger connection, I would have opted for something larger.
Testing the limits of the 3d printer
So, you have your magnets. The next step is to measure and model the hole for the magnet in your design. But before you do that, I’d recommend doing a test model (after all, isn’t that what a 3D print is good at). This will vary depending on your software of choice, but for Tinkercad (what I used to model the case) I:
- Created a hole cylinder with the right diameter needed.
- Set the height to more than the height of the magnet (any number will do) so it’s easier to use in the model.
- Aligned it to the top of the model by moving it up.
- Moved it back down by the number you need to cut out of the model.
- Merged the two shapes.
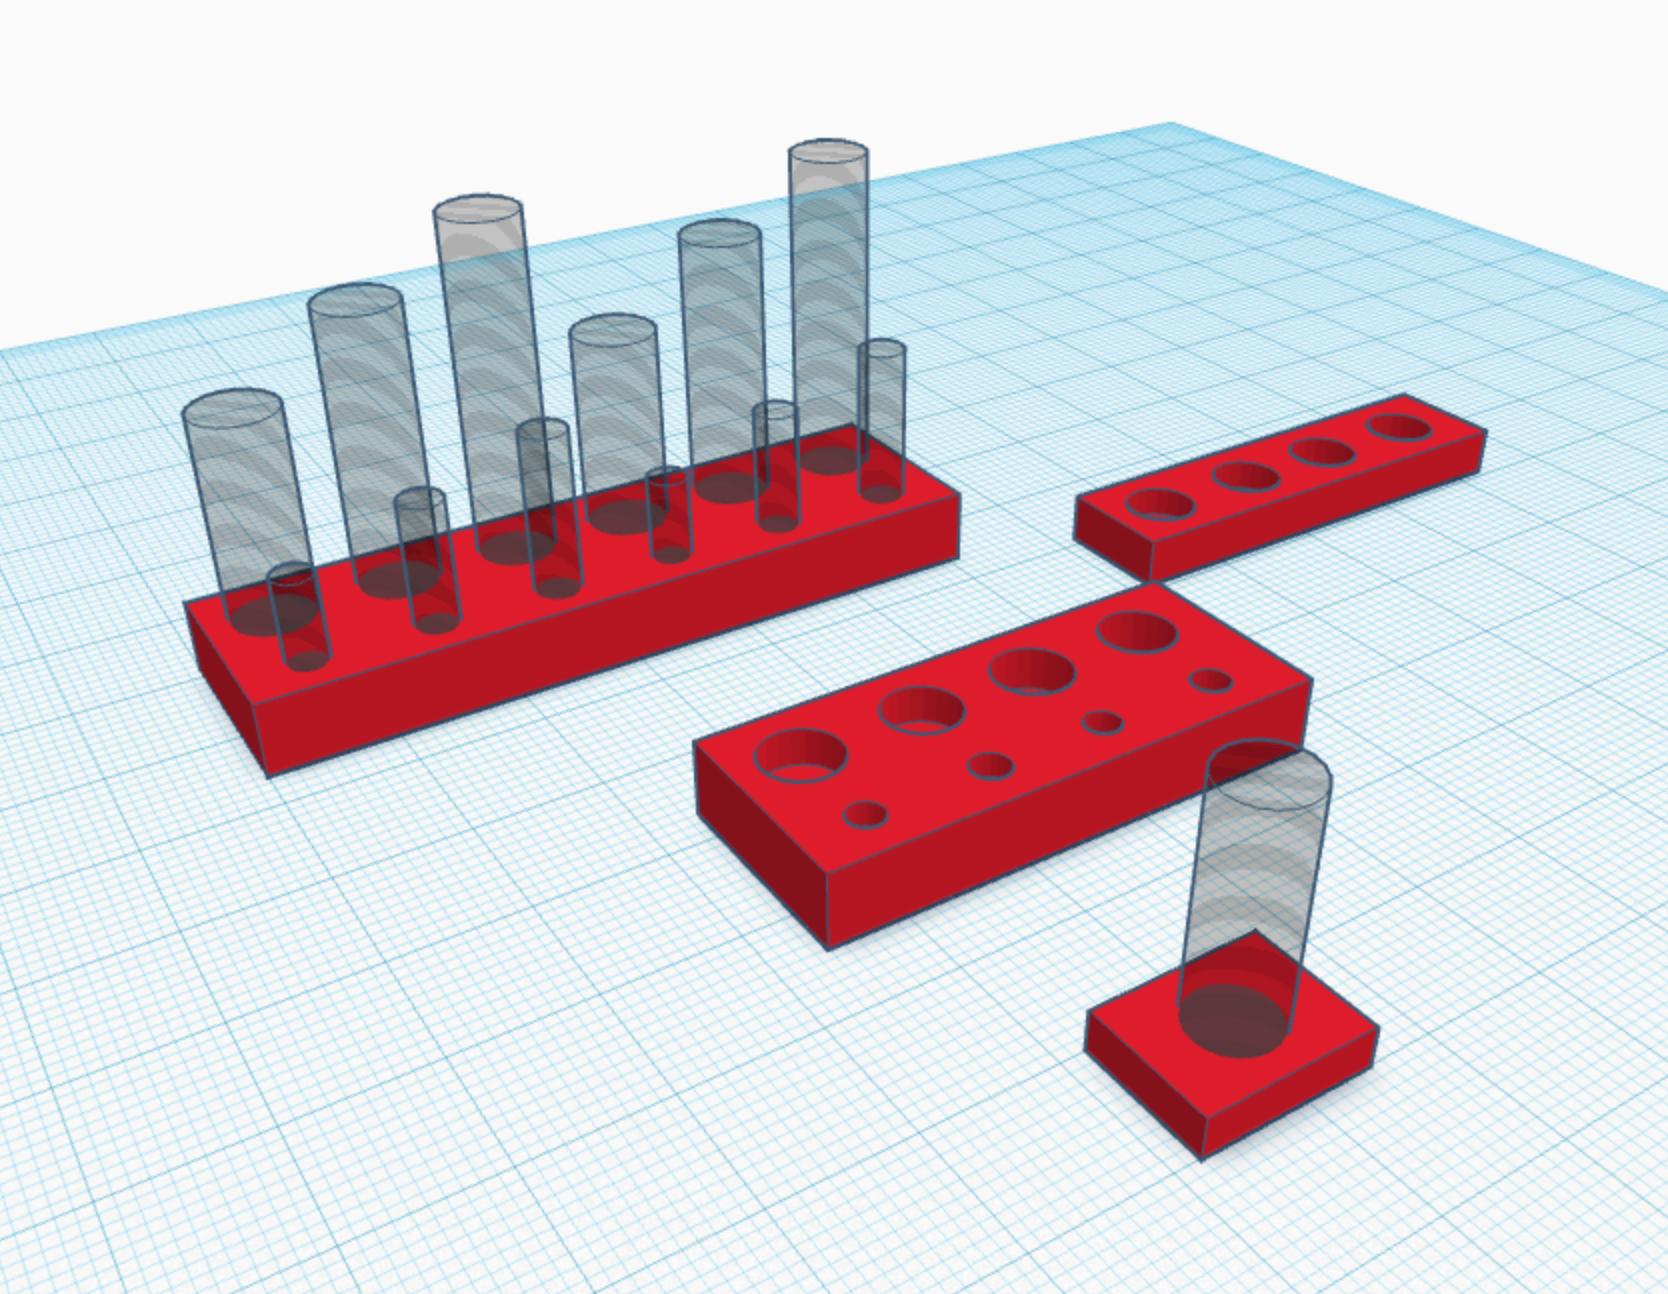
I created a test jig, with different depths and widths. This tested the tolerances of my 3D printer to ensure I knew what I needed to cut out of the model. Just an FYI, the larger holes in the image were because I bought another magnet size and wanted to figure those out at the same time as these for another idea I had.
Through this quick and simple jig, I was able to see although the depth was fine as per the size, I actually needed a hole of 3.25mm.

Printing the final case
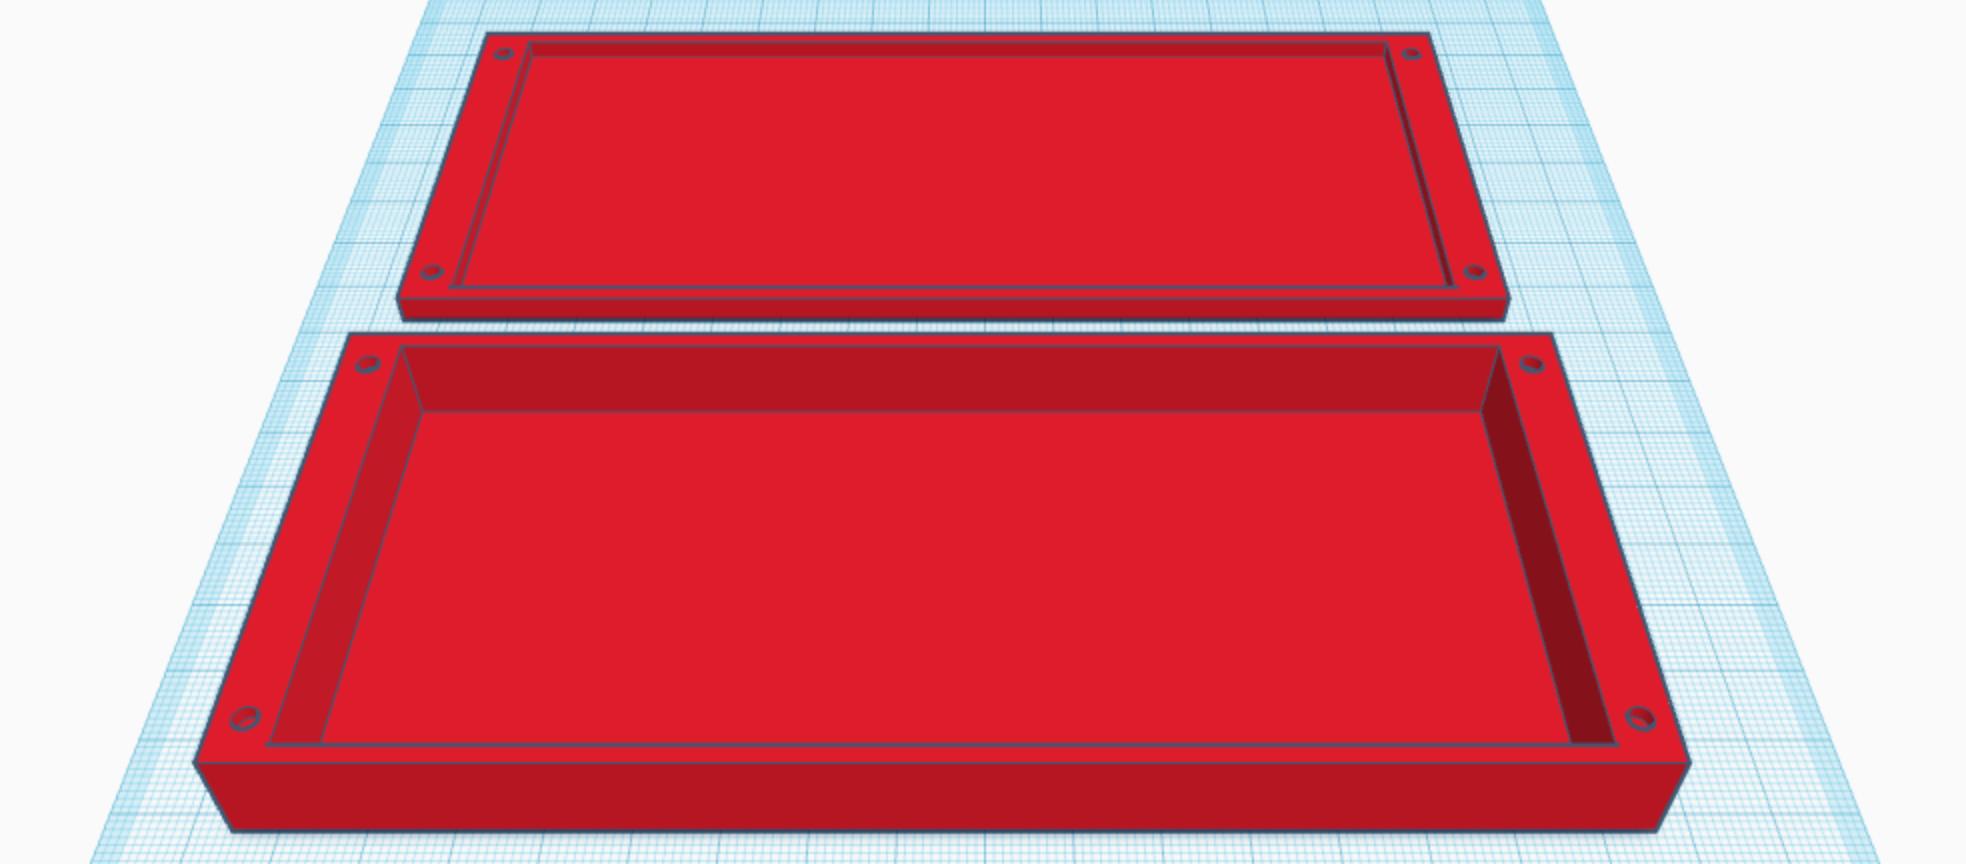
The next stop was creating the case. I measured the foam insert, which I then modelled as the cut-out for the bottom section of the case. I modelled around it something with deep enough walls and enough space for the magnets to be printed safely (so they weren’t too close to the edges).
I then repeated the process for the lid. Even though I modelled the bottom to include the whole height of the foam, I also did a cut out of the lid to save on PLA and also gave some clearance just in case.

Invisible Magnets
If you want to take this a step further you can embed magnets into the print, something I did to create a fridge magnet. The trick is the same as before with creating a pocket in your model, with just a few differences:
- You have to leave some layers before creating the cut-out. I found it works best to leave the first two layers of the print (so about 0.4mm) before aligning the cut-out into the model to start.
- This time as you are putting the magnet into the model, make sure you set the height to be the exact height needed for the magnet to go and the next layer will print over it.
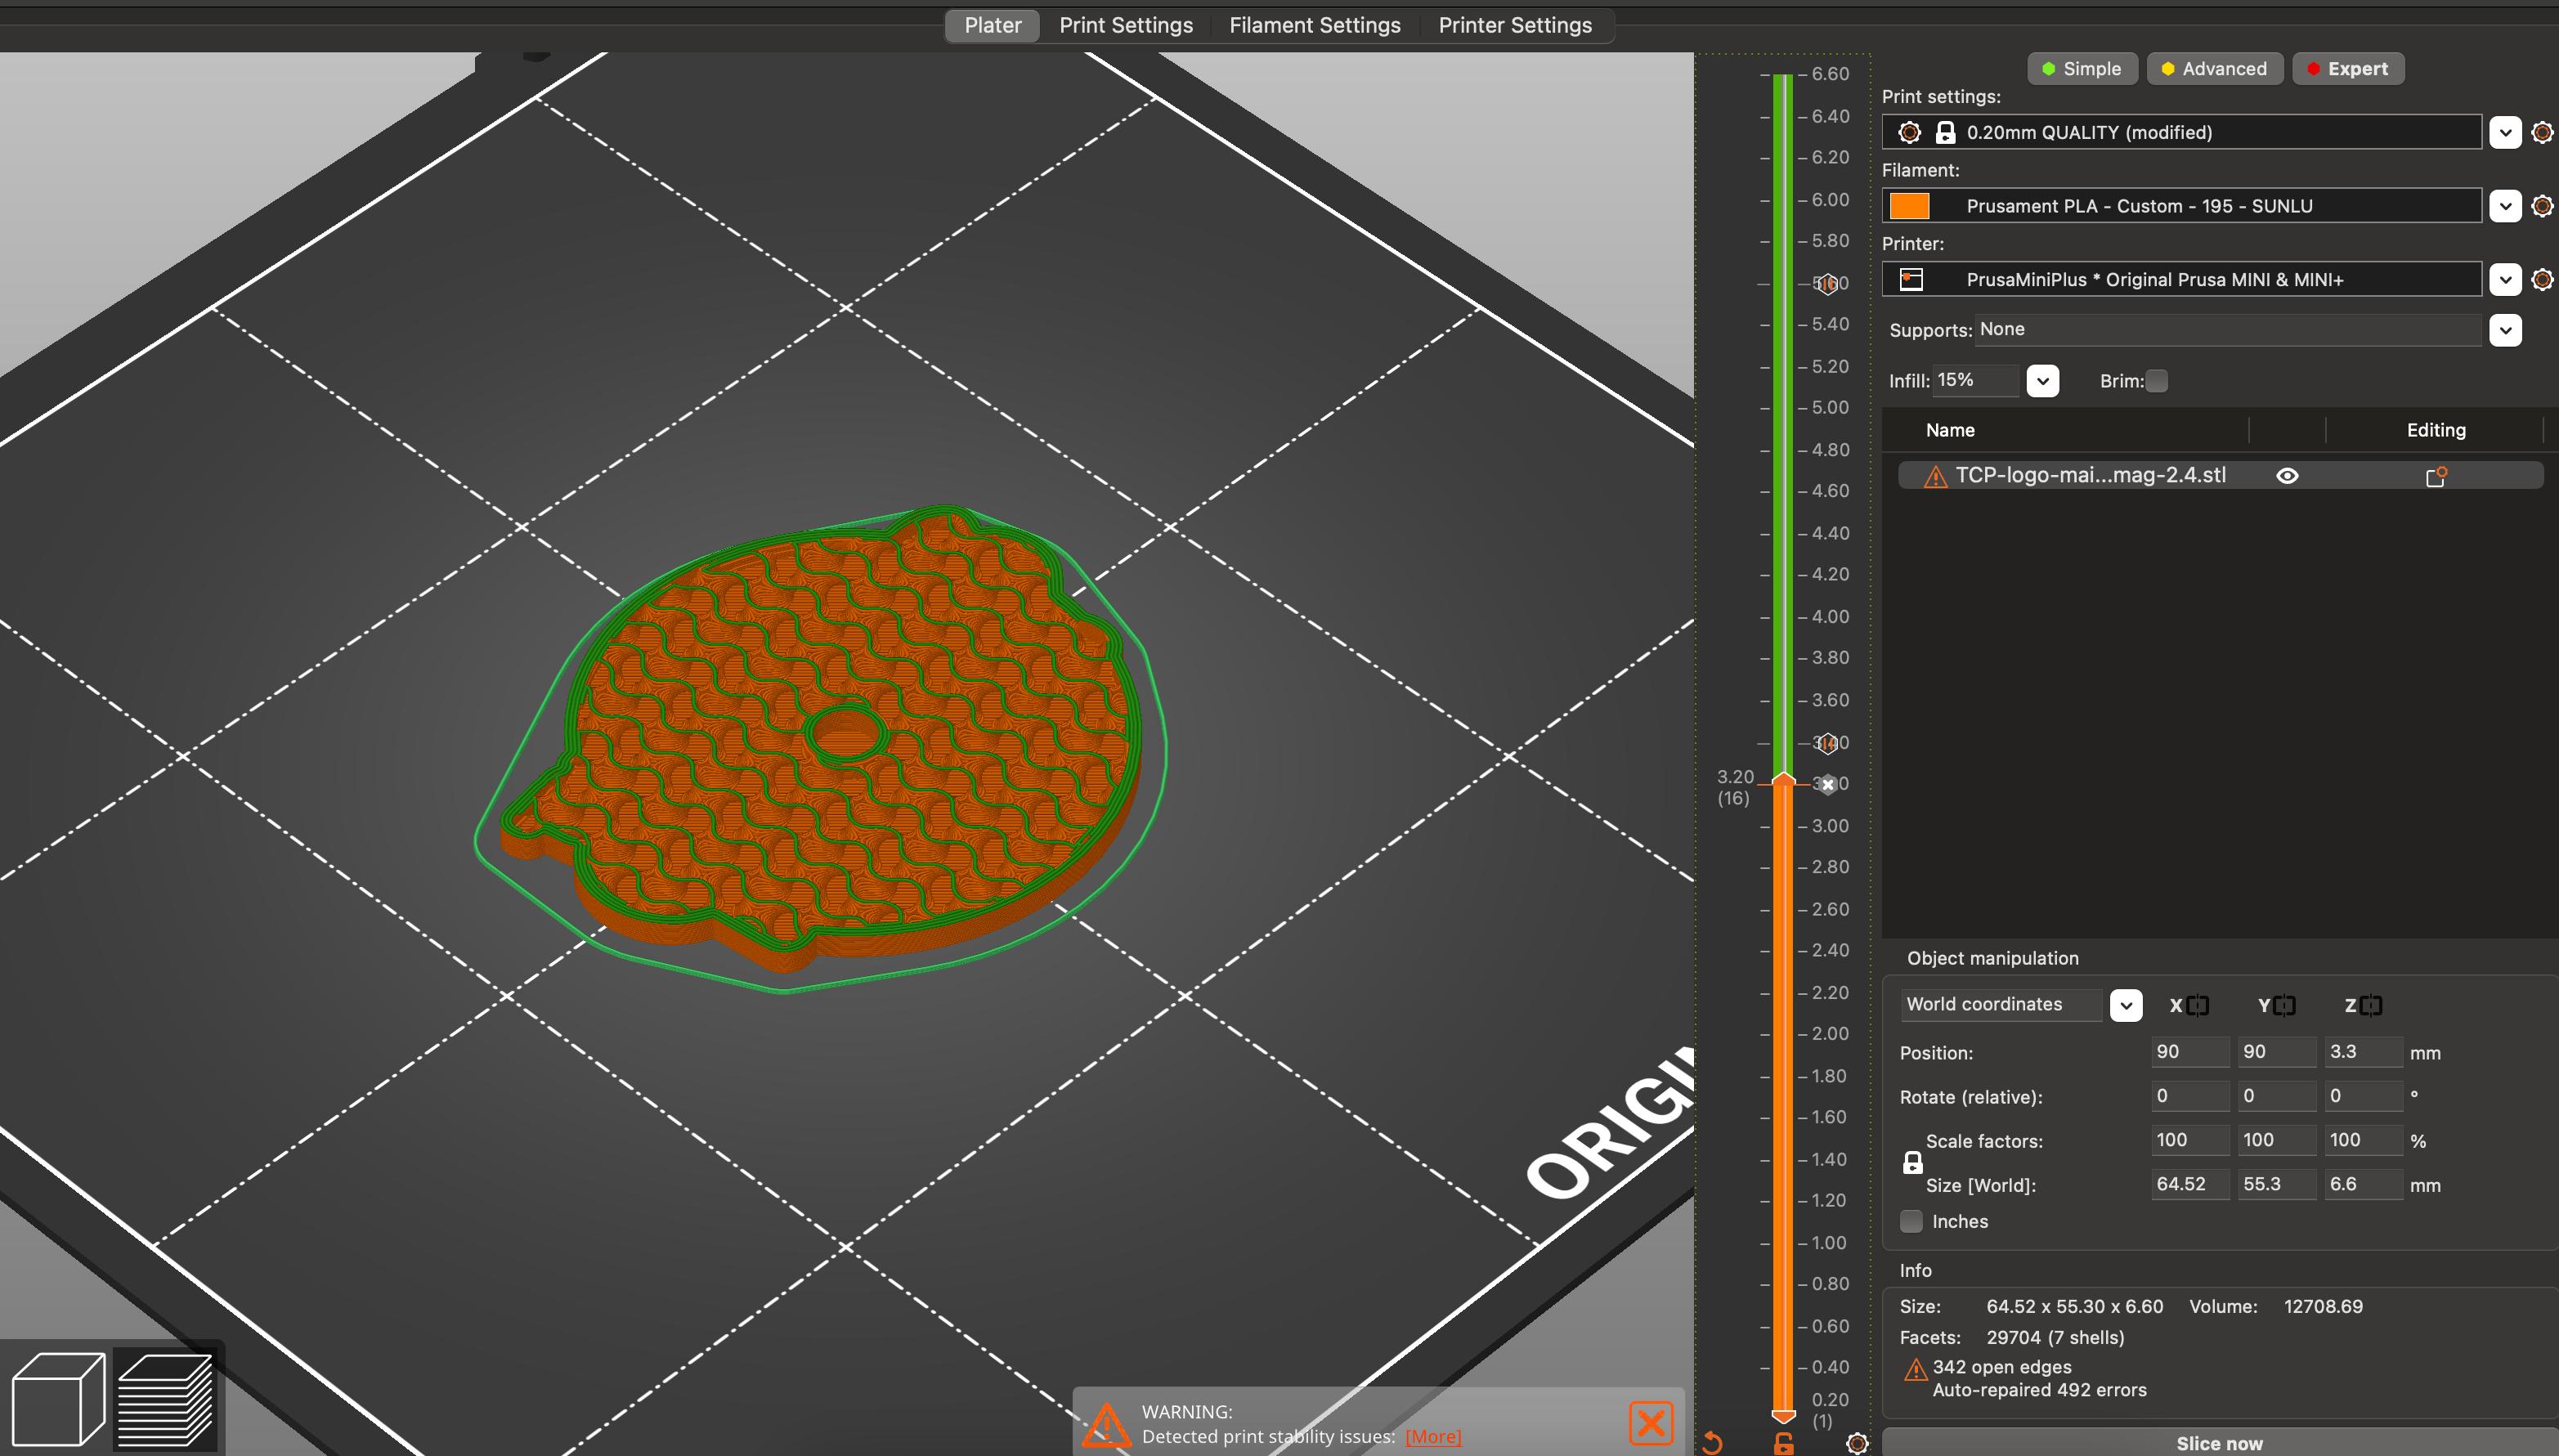
- You then have to pause the print in your slicer at the layer just before the layer which goes over the magnet. You can see an image below where I’ve added a pause to Prusaslicer (very much slicer dependent).

Wrap up
It’s been fun adding magnets to my models and figuring out how to do it successfully with my Prusa Mini. I have some models on printables I’m thinking of printing soon which will use more of them.
