
How I designed my first 3d model
3d modelling can feel like a daunting ask, especially when you see some of the amzing designs online. But it doesn't have to be. Here's how I made a case for a pi zero and add on HAT.
- 6 minutes read time
You don’t need any fancy subscription or paid software, you don’t need to learn complex CAD (computer-aided design), you need an idea, think about it in simple shapes, be prepared to make test prints and VOILA. You can design, print and implement your 3d model. Here’s what I came up with and how I did it.
I was very conscious when I got my 3d printer that I couldn’t just live off other people’s models. I knew I’d run out of things to print or the things I found wouldn’t be quite what I wanted. Friends who had 3d printers told me the same thing, how they fell out of love with it. So I needed to design my own.
Coming up with an idea
I had the perfect first choice. I had a pi zero which I wanted to put pihole on to protect my home network and block ads and trackers. It was all set up with a Waveshare POE hub so it could be powered through my POE network switch. Just one problem. I found a cheap deal on the board without the official case and I was too tight to purchase the case later on its own.
In a way, the perfect problem 3d printing is there to solve.
How I approached it
So when I think cases I think something like a chest. A main trunk to house things, then a lid with a hinge, lip, or some other fit and catch mechanisms to stay stuck on. To design that felt like a lot to get to grips with, especially when you factor in understanding CAD software. So I needed another way. In steps The PiHut’s TV HAT case for inspiration.
A perfect pattern for my case. I could model one piece at a time, mostly in two dimensions. Focus on the relatively simple dimensions making cuts for the ports. Then I can print it quickly and offer it up without being annoyed if it was wrong.
What tools did I use
Tinkercad and a pair of digital calipers (basic ones of amazon). That’s all I needed for this model. I know I’ll need proper CAD software at some point. But for this model, it did just the job. You can register for free, and then creating your first model is as simple as putting shapes on the board.
It didn’t take me too long to understand how to set dimensions and align shapes against each other. More complex shapes are made by making one a ‘hole’ type, and then merging with another. Or by taking two normal pieces and combining them.
By doing this you don’t really lose any history and can unpick what you’ve made should the ‘hole’ shape be too big or in the wrong space relative to the other piece.
When you’re ready to print you just export in a file your printer will accept. However, you do have to remember to align the shape to the ‘floor’ of the space. As you’re printing in 3 dimensions, a shape 5cm off the floor will try to be printed in thin air. Won’t be a good result I can assure you!

Trial and error
Now here is where I had rapid trial and error and I wish I had the rejects to prove it. My model only has v5 in Tinkercad but I guarantee there were plenty of versions in between. The great thing about this model was I tested one piece at a time.
Bottom’s up
First came the bottom. This allowed me to check whether the screw holes lined up and it looked wide enough to have side panels around the pi itself in the ‘joints’. This was made easier by there being good schematic images of the pi with sizes and relative distances between the screw holes.
I found a reference diagram of the pi so I could work out the hole sizes and also the space between them. Then I built a shape big enough to include them and the joint holes outside it. In printing it helped me test my printer tolerances and I did make the shape bigger and push the joints out so the hole had space to be printed.
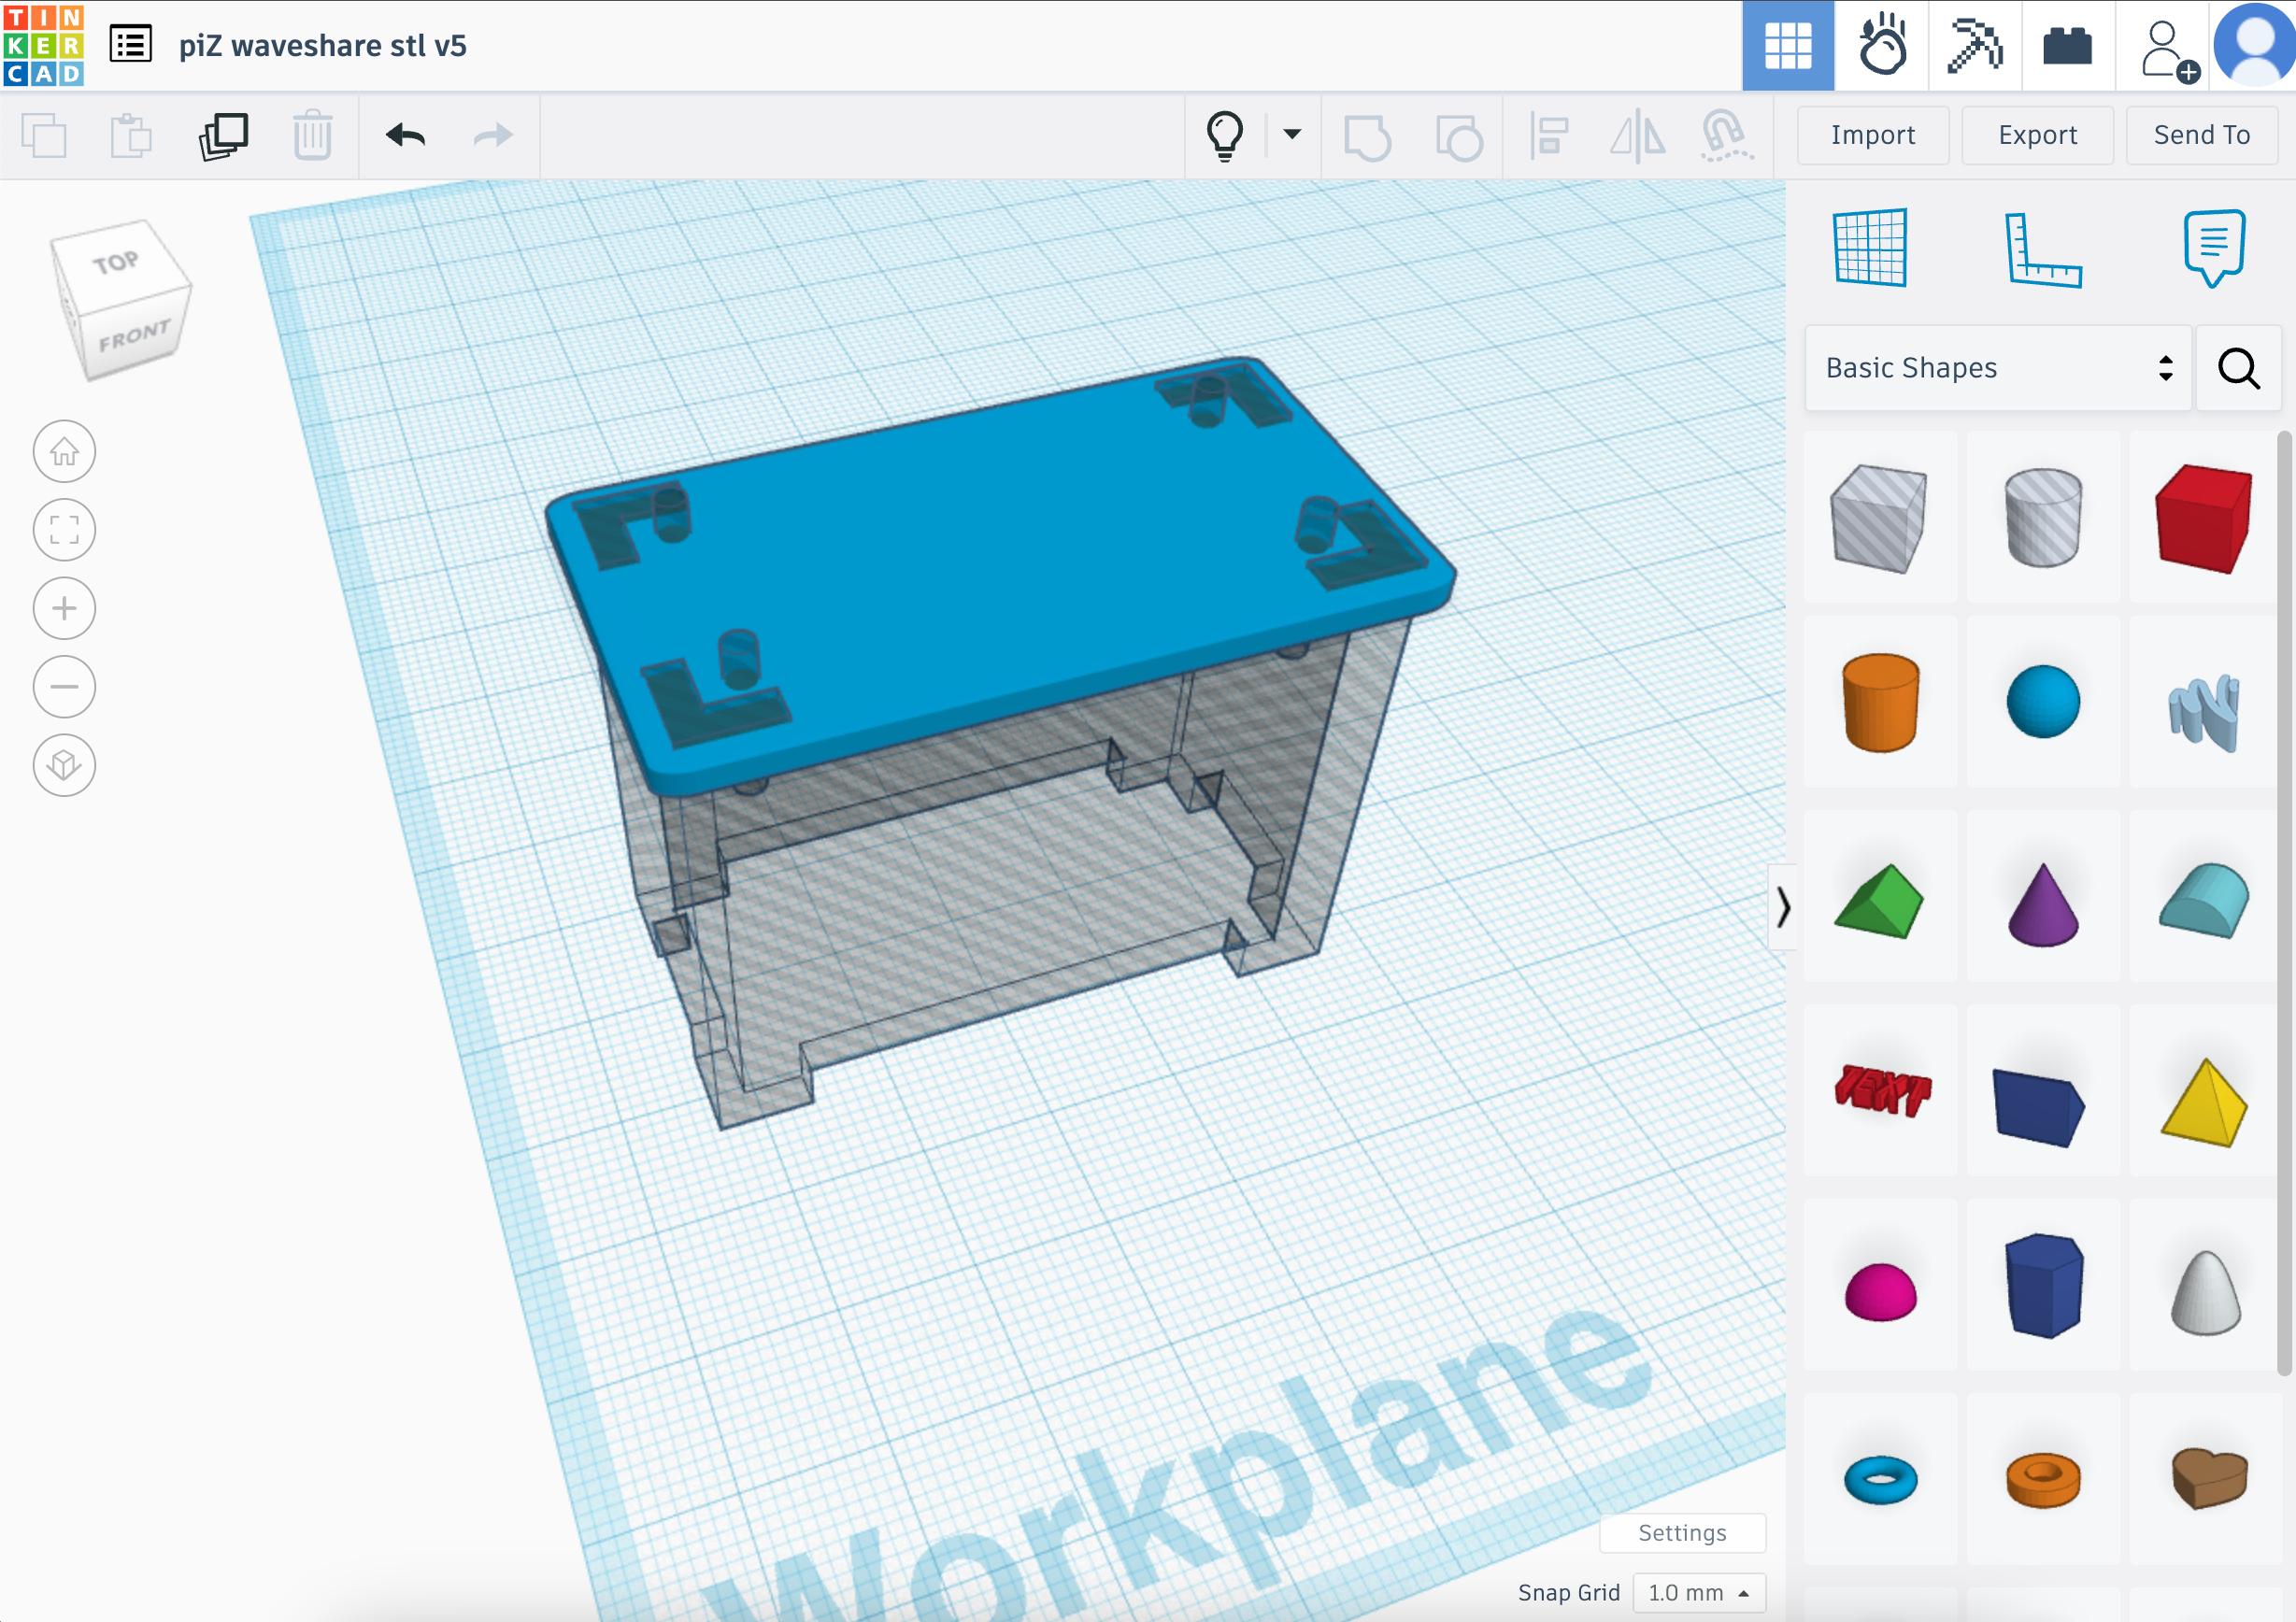
(This is from the final file where I flipped the side panels to make the holes but it could have been a simple rectangle shape)
Getting the heights right
This was probably where it took the longest. I knew the size of the joint pieces on the sides to match the holes in the top and bottom pieces pretty easily. The part was getting the height of the main section just right so when the top was added, it sat nicely on some 12mm standoffs I had on the top of the board to keep the header pins within the case.
Even using the calipers it was tough to measure due to the points needed being just inside of the board and out of reach of the calipers. This meant factoring in board thicknesses and spaces between the pi and POE board, resulting in calculations on scrap paper. Once I finally had that set after multiple prints, it meant re-working out the position of the ports.
This is where CAD software comes into its own I guess. You set features relative to other points or edges in the model, meaning if you change a size it should still end up where you need. A lesson learned for me I guess.
End result
After countless attempts at the individual parts, the board finally went together around the pihole. I’m not going to lie, I was chuffed with myself. I could have left them in the grey PLA I had printed the tests in, but couldn’t resist printing them again in prusament orange to stand out.
I’m thrilled with the case. It’s been on Printables since January 23 and it’s been downloaded over 100 times with positive reviews for those that have used it. It’s been rewarding to see the model being useful for others too.
I have it on my list to create some other cases in the style of this for the main Raspberry Pi models (4 and now 5). They are so easy to print and just as easy to put together offering great access to ports and ventilation that it’s a solid case for a SBC. They are a bit of a pain to model out but that’s for me to worry about!
All this goes to show if you start simple you can normally achieve your goal, regardless of the software or tools you use.
The Archives